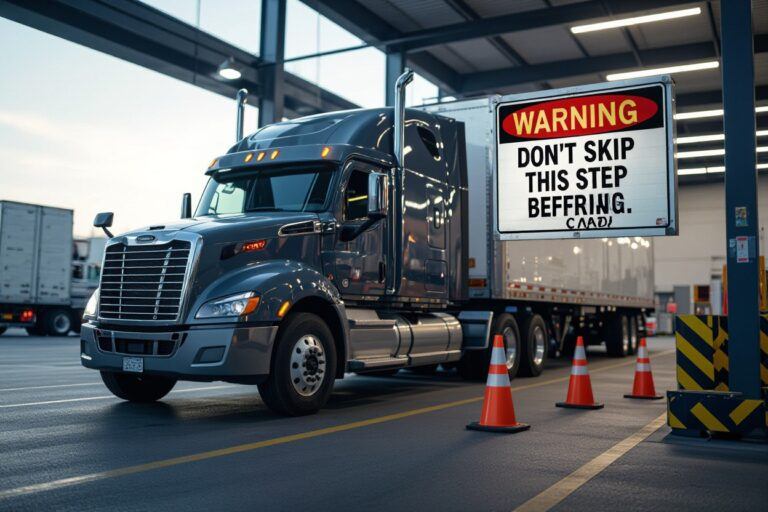
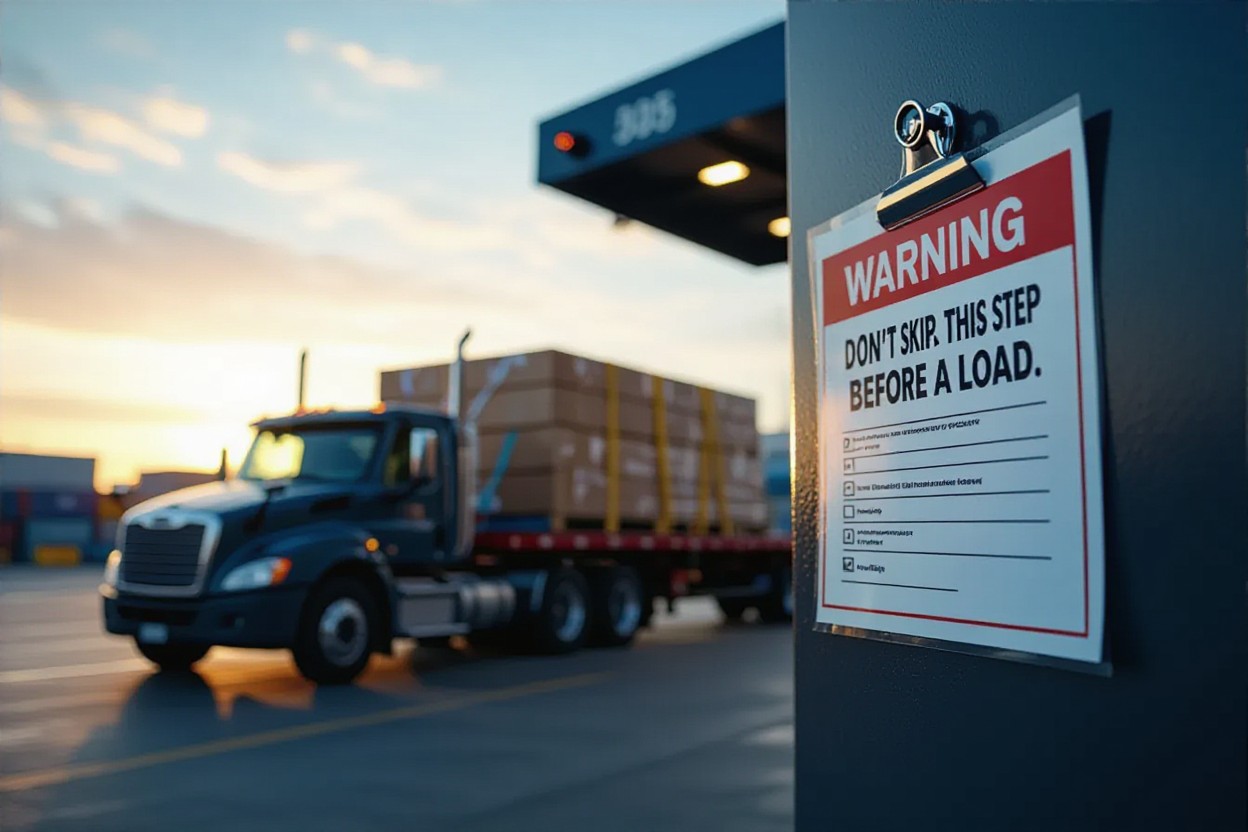
It’s vital that you perform a thorough pre-haul inspection so your hitch, tie-downs, lights, tires, and brakes are secure and functional; skipping this check can cause catastrophic accidents or costly fines, while completing it ensures safe arrival and protects your cargo. You must verify weight distribution, tighten connections, confirm brake response, and document any issues before you move to avoid preventable loss or injury.
Key Takeaways:
- Inspect and secure the load with appropriate tie-downs and edge protection; test for movement.
- Verify weight distribution and ensure you do not exceed vehicle or trailer weight ratings.
- Confirm hitch, coupler, safety chains, and breakaway system are properly attached and locked.
- Test lights, turn signals, brakes, and check tire pressure and condition before departure.
- Confirm permits, route restrictions, and clearance heights; plan stops and contingency routes.
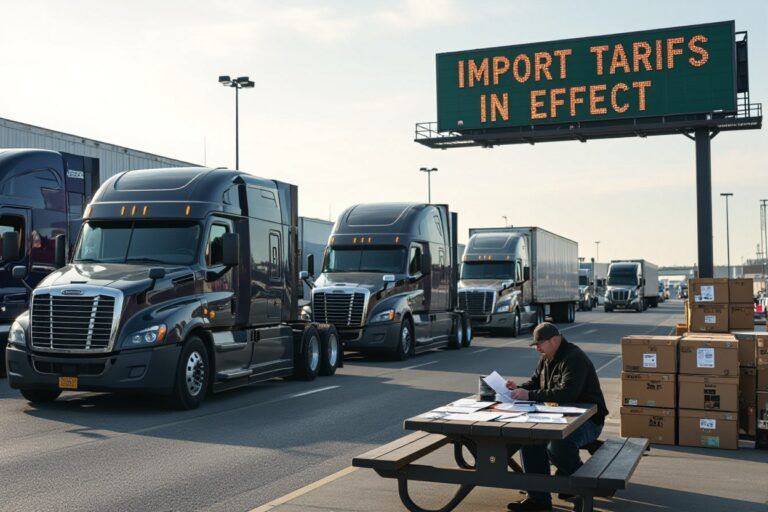
The Critical Safety Checks You Can’t Afford to Ignore
You must verify mechanicals and securement before moving a load: visually inspect brakes, coupling, tires and lights, confirm load weight and placard limits, and ensure all documentation matches manifest weights. Check that axle loads are within legal limits and that the trailer floor and bulkheads show no signs of rot or deformation. Small oversights here—missing lug nuts or a loose fifth wheel—cause the most common and dangerous failures on the road.
Pre-Loading Inspections
Scan tires for cuts, bulges and tread depth; front tires should have at least 4/32″ and others 2/32″. Verify tire pressures against the vehicle placard or manual (many 22.5″ tires run between 80–110 psi). Test service and parking brakes for air leaks and proper hold, inspect the fifth wheel and kingpin for excessive wear, and confirm all lights, reflectors and DOT markings are intact before you load.
Load Securing Techniques
Use properly rated tie-downs and chains with the stamped Working Load Limit (WLL); common ratchet straps range from 5,000–15,000 lb break strength. Apply at least two tie-downs for small loads and follow the guideline of one tie-down per 10 feet of cargo length where applicable. Protect straps at sharp edges, distribute straps symmetrically, and avoid single-point securement for heavy or tall items to prevent shifting and toppling.
Employ a mix of containment methods: direct tie-downs, blocking/bracing, and friction mats for smooth loads. For heavy equipment use load binders and chains rated for the cargo, and for palletized goods place straps across the pallet corners with edge protectors. Check and re-tension all straps after the first 50 miles and at each stop; inspect for abrasion, UV damage, or fraying and replace any strap that shows compromised stitching or frayed fibers.
Legal Regulations: What You Need to Know Before You Haul
Federal and state rules will determine whether your load can move, what permits you need, and what equipment or routing restrictions apply. You must check USDOT/FMCSA standards for interstate runs and state DOT rules for intrastate permits; failing to obtain an overweight/oversize permit can cost you $1,000s in fines and force immediate load offloading at your expense.
Compliance with Weight Restrictions
Federal limits generally cap most interstate rigs at 80,000 lbs gross vehicle weight and enforce axle spacing rules—states vary on tolerances. Overweight permits are issued per trip or annual and often mandate escorted routing, reduced speeds, or bridge inspections for loads above designated thresholds; carriers moving >100,000 lbs typically face special bridge/route reviews and steep permit fees.
Licensing and Insurance Requirements
A Class A CDL is required once your combination vehicle exceeds a 26,001 lb GVWR, and specific endorsements (HAZMAT, tanker) add vetting and background checks. Interstate carriers must register with USDOT/MC and carry primary liability insurance—federal minimums commonly start at $750,000, rising for hazardous cargo—lack of proper filings risks citation and operational suspension.
Hazardous materials endorsements require TSA fingerprinting and can take weeks to approve, so you should start applications well before scheduled hauls. Cargo insurance differs from liability; many shippers demand $100,000+ cargo coverage or higher, and brokers often require COIs naming them as additional insured—insufficient coverage can leave you personally liable for damage or cleanup costs.

Choosing the Right Equipment: A Game-Changer for Load Transportation
Match your vehicle to the job by checking GVWR, payload, and axle limits before loading: light-duty pickups typically offer 1,200–2,000 lb payload, midsize box trucks 3,000–6,000 lb, and Class 8 tractors exceed 20,000 lb. Factor tongue weight (roughly 10–15% of trailer weight) and road type—unpaved routes demand higher ground clearance and reinforced suspension. Pick the platform that leaves you with at least a 20% safety margin on payload to avoid overloading axles or braking systems.
Selecting the Appropriate Vehicle
Inspect hitch class, brake systems, and cooling capacity when choosing a tow vehicle: a Class III hitch supports up to 8,000 lb while Class IV reaches ~10,000 lb. Validate your vehicle’s GCWR to ensure engine and transmission ratings match the trailer; add sway control and a weight-distributing hitch for heavy trailers. Check tire load ratings and upgrade mirrors or camera systems if visibility is limited during towing.
Essential Gear for Effective Loading
Stock your rig with ratchet straps rated at least 5,000 lb WLL, Grade 70 chains for heavy equipment, edge protectors, D-ring anchors, load bars, and wheel chocks. Use visible tarps and reflective straps for nighttime moves. Carry a torque wrench, spare straps, and a high-visibility vest so you can secure and inspect ties safely at the roadside.
For securement technique, apply a minimum of four tie-downs on heavy, mobile equipment and use an X-pattern across long loads to prevent fore-aft shift; for example, secure a 2,000 lb skid-steer with two front and two rear straps plus wheel chocks. Inspect straps for cuts or UV damage before each trip and replace any with fraying or broken stitching. Unsecured or worn gear can fail under braking and cause rollovers, so prioritize redundancy and regular inspection.

The Cost of Skipping Preparation: Risks and Consequences
Skipping pre-haul checks exposes you to immediate delays, damaged cargo, and elevated accident risk; a single load shift can force emergency stops, add hours of downtime, and trigger inspections that cost you loads and reputation. On top of repair bills, you face lost contracts and weakened carrier trust—outcomes that compound quickly and hit your bottom line hard if you keep cutting corners.
Financial Ramifications
Poor preparation creates direct and indirect expenses: repair and cargo claims, detention fees, and customer chargebacks. You can expect repair bills and claim settlements often running into the thousands, detention and rework eroding margins, and recurring issues that raise your freight rates or lose you preferred customers—turning a single oversight into a multi-thousand-dollar problem.
Potential Legal Liabilities
Improperly secured or overloaded loads expose you to citations from DOT and local law enforcement, civil suits for property damage or injury, and in severe cases, criminal prosecution for gross negligence. Regulatory fines, license suspensions, and legal judgments can follow rapidly if your load causes harm, with consequences that extend beyond the immediate incident.
Courts and insurers scrutinize whether you followed standard securement practices; failure can lead to seven-figure wrongful-death judgments or denied coverage, leaving you personally liable. Expect increased premiums, potential loss of operating authority, and a worse CSA score that limits your ability to win contracts—small shortcuts can cascade into permanent business damage.
Proactive Strategies for Stress-Free Hauling
Planning Your Route
Check commercial maps and truck-specific GPS to flag low clearances (watch for 13’6″ bridges), weight limits, and restricted turns; identify permitted corridors and plan fuel stops every 200–250 miles for typical heavy loads. Factor in scheduled tolls and expected inspection points to avoid surprise delays. After mapping alternative lanes and marking mandatory stops, send the route and contingency plan to your team.
- route planning: use truck GPS and DOT maps
- low clearances: note bridge heights on every segment
- weigh stations: locate and plan inspection windows
Time Management Tips for Load Transportation
Depart to avoid city peaks (6–9 AM, 4–7 PM), align breaks with electronic Hours of Service limits, and pad ETAs by 30–60 minutes for inspections or traffic; schedule pickups to minimize backtracking and reduce idle time at terminals. After confirming allowable drive time and planned rests, update customers with realistic delivery windows.
- Hours of Service: set automated alerts for HOS limits
- ETAs: build 30–60 minute contingency
- peak traffic: shift departures outside rush hours
Stagger departures by 45–90 minutes for multi-stop runs, use electronic logs to monitor live HOS and trigger alerts when duty time wanes, and consider relay teams on runs over 600 miles to keep freight moving without breaching limits. After testing a 45-minute head-start on regional lanes, several carriers reduced late deliveries by roughly 40%.
- HOS: monitor in real time with ELDs
- relay teams: maintain continuous movement on long hauls
- electronic logs: automate break and drive-time alerts
Summing up
Considering all points, you must perform a final inspection and securement check before hauling a load to prevent accidents, fines, and cargo damage. By verifying tie-downs, weight distribution, lights, and clearance, you protect yourself, others, and your equipment. Make this step a non-negotiable part of your routine to ensure safe, compliant, and efficient transport.
FAQ
Q: Warning: Don’t Skip This Step Before Hauling a Load — what single inspection should I always perform before departing?
A: Perform a full pre-trip inspection that starts at the hitch and works back: confirm coupler engagement and latch, attach and cross safety chains, verify breakaway cable and electric brake connection, test trailer lights and turn signals, check tire pressure and tread, inspect wheel bearings and lug nuts, confirm suspension and load tie-downs, and ensure cargo is balanced and restrained. A methodical walk-around and functional test of brakes and lights catches most hazards before you move.
Q: How do I set and verify proper tongue weight and load distribution?
A: Aim for appropriate tongue weight: generally 10–15% of trailer gross weight for bumper-pull trailers and 15–25% for fifth-wheel setups. Measure using tongue scales, vehicle/trailer scales, or a lever-and-bathroom-scale method. Position heavy items low and forward of the trailer axle(s) to achieve target weight; adjust by sliding the load fore or aft, or install a weight-distribution hitch when needed. After adjustments, test for stable steering and minimal sway at low speed.
Q: What are the best practices for securing different types of cargo so it won’t shift during transit?
A: Use appropriate tie-downs (ratchet straps, chains) rated for the load’s weight and check their Working Load Limit. Anchor cargo to designated points, use at least two tiedowns per item when possible, keep center of gravity low and centered, protect cargo edges with padding or edge protectors, tension straps evenly, and add chocks or blocking for wheeled equipment. For loose bulk or tarped loads, use adequate tarps and secondary retention to prevent debris and wind lofting.
Q: Which vehicle and trailer systems should be function-tested before hitting the road?
A: Test brakes (service and emergency) by driving a short distance and applying controlled stops, cycle brake controller settings, verify all lights and signals, check tire pressures and sidewalls for damage, inspect lug nuts for torque, ensure bearings are greased and not overheating, confirm hitch security and coupling engagement, and verify mirrors and camera systems. Top off fluids in the tow vehicle and confirm battery and charging system are in good order.
Q: What legal, routing, and documentation steps are required before hauling a commercial or oversize load?
A: Obtain necessary permits for oversize/overweight loads and comply with route restrictions for bridges, low clearances, and local ordinances. Carry required documentation: bill of lading, permits, insurance proof, and hazardous-material placards and papers if applicable. Plan the route in advance, schedule escorts if mandated, check state and local DOT rules for weight limits and time-of-day restrictions, and ensure driver logbooks and certifications (e.g., CDL endorsements) are current.